


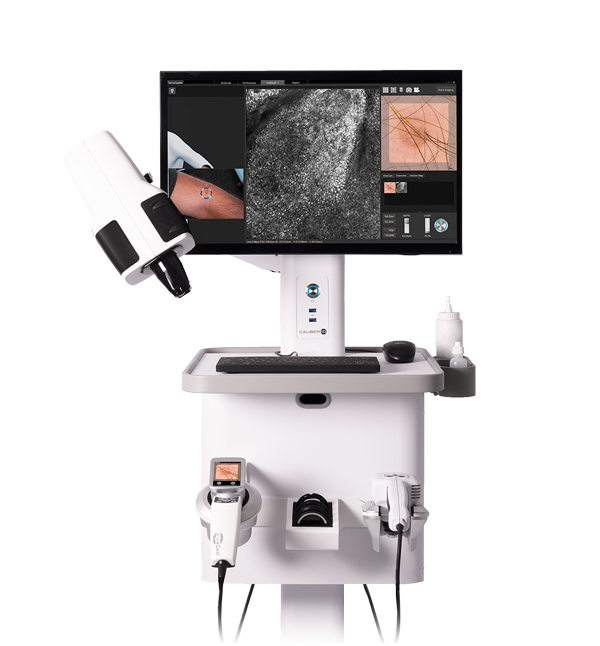
Instant Optical Biopsy
With the simple workflow for Instant Optical Biopsy and the use of our in vivo confocal microscope systems you can make a whole body examination and furthermore you can have a view into the different skin layers. With the VivaScope you can now finally see the cell morphology in high resolution – and not just the surface of the skin. This allows you an “Instant Optical Biopsy” painless and within minutes.
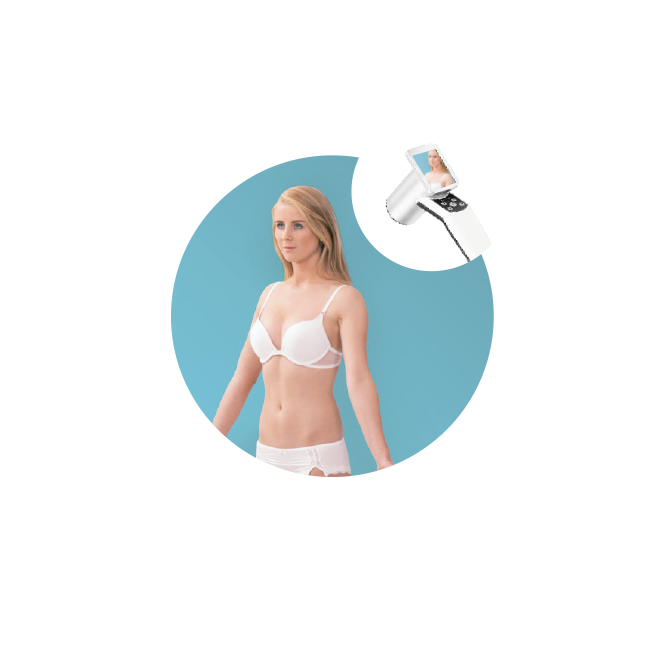
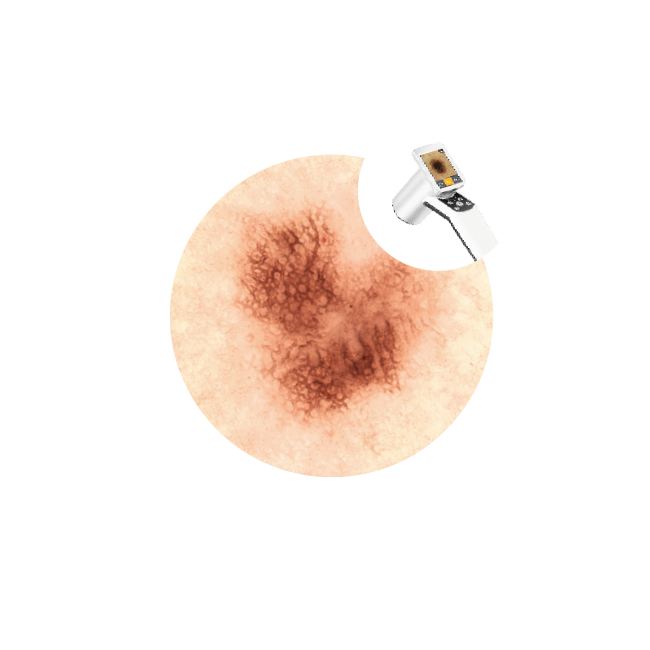
Step 1: Clinical Imaging
Start imaging by taking a clinical image(s) with the dermatoscopic camera VivaCam, a vital component of the VivaScope imaging system.
Step 2: Dermatoscopy
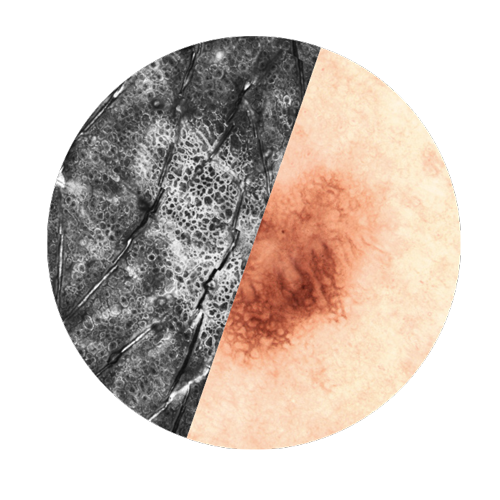
In Vivo examinations using confocal laser scanning microscopy (CLSM) allow for an optical biopsy using a non-invasive procedure. Cellular microstructures of skin can thereby be depicted cell by cell in clearly defined horizontal “optical cross-sections” with a thickness of less than 5.0 μm.
All images courtesy of Prof. Dr Elke Sattler, Dr Martina Ulrich, Prof. Dr Julia Welzel


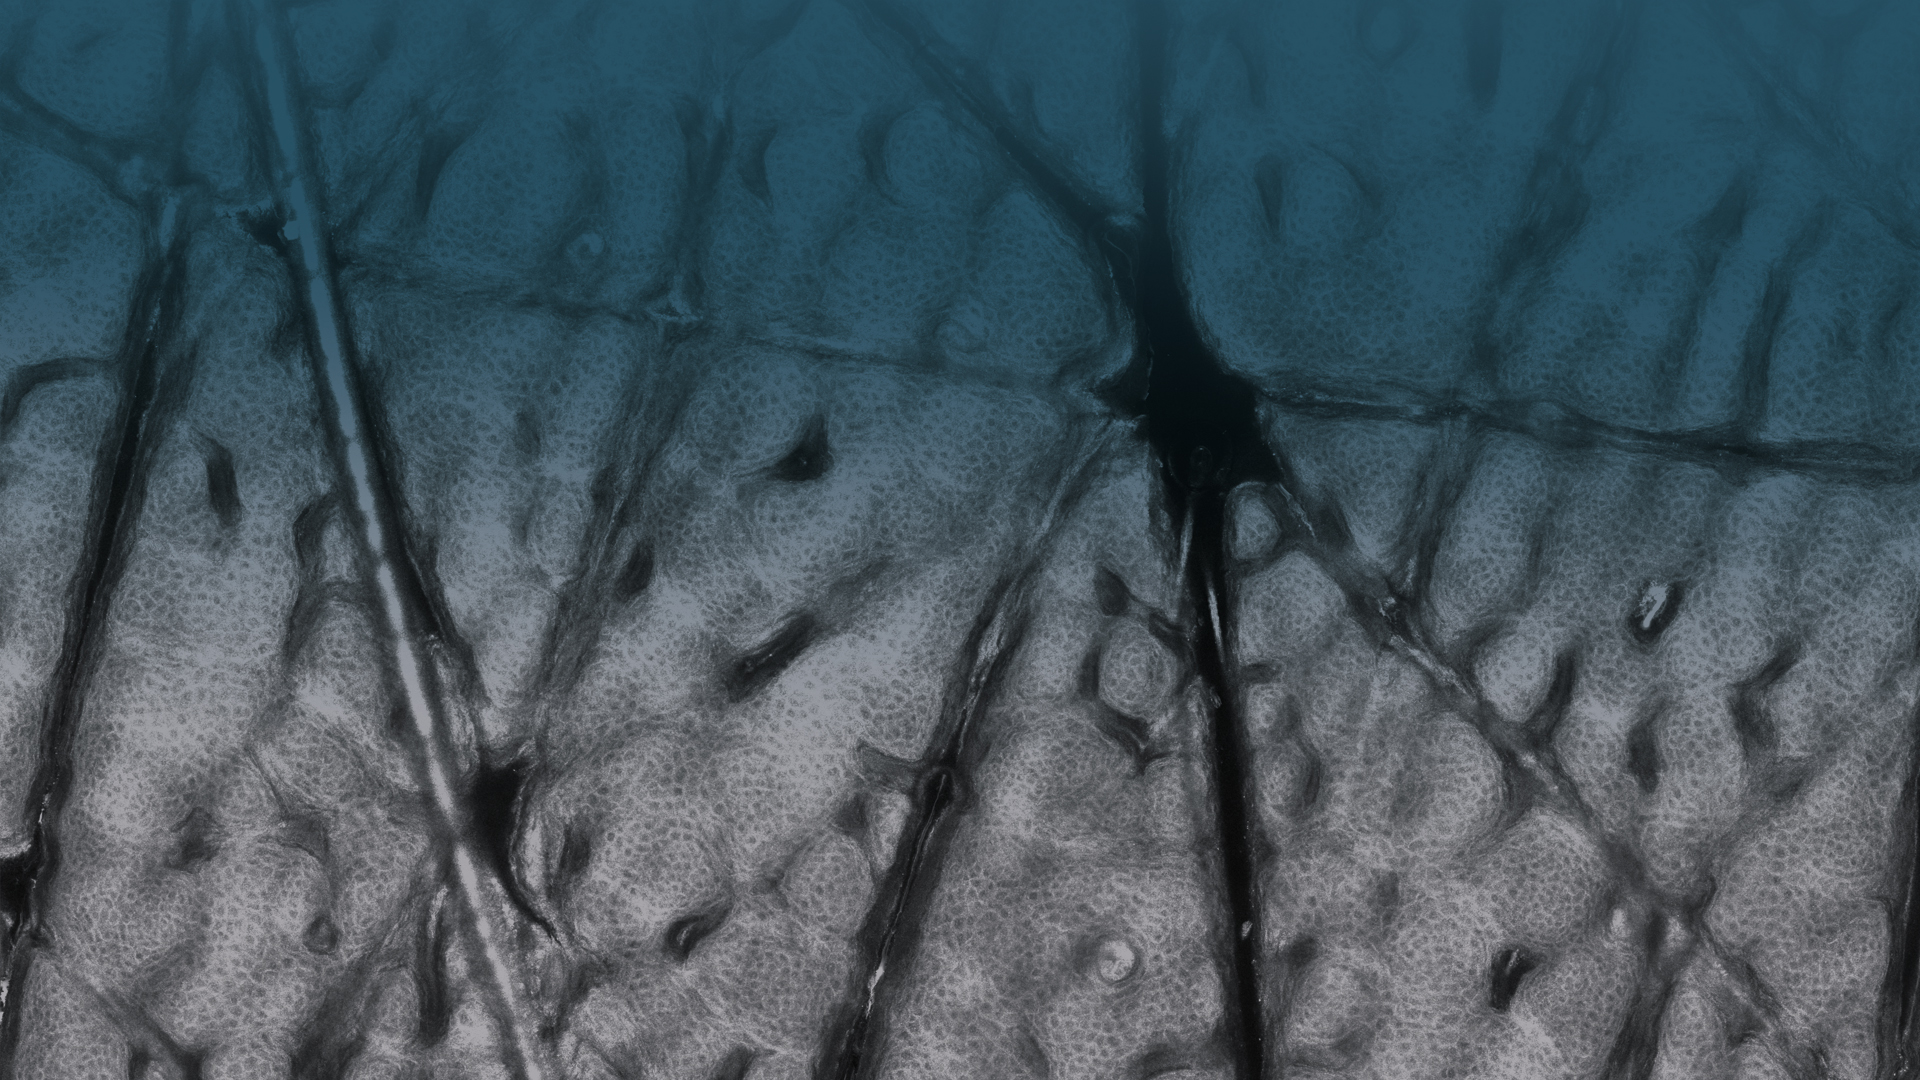
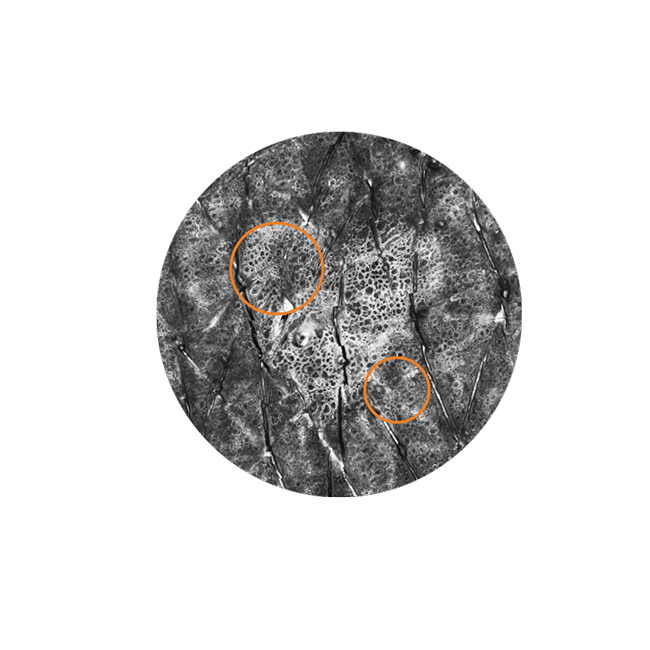
Step 3: Confocal Imaging
In Vivo examinations using confocal laser scanning microscopy (CLSM) allow for an optical biopsy using a non-invasive procedure. Cellular microstructures of skin can thereby be depicted cell by cell in clearly defined horizontal “optical cross-sections” with a thickness of less than 5.0 μm.
All images courtesy of Prof. Dr Elke Sattler, Dr Martina Ulrich, Prof. Dr Julia Welzel
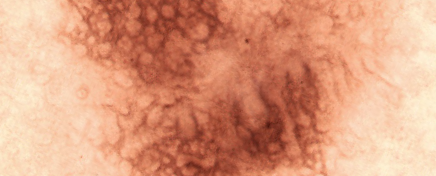
Step 4: Interpretation
Examining with the VivaScope means both, sparing patients from painful and potentially unnecessary removal of tissue and long waiting time for the result of an examination. The examination opens a “window into the skin” without causing pain or damaging it.
All images courtesy of Prof. Dr Elke Sattler, Dr Martina Ulrich, Prof. Dr Julia Welzel
Learn more about the technology
All images courtesy of Prof. Dr Elke Sattler, Dr Martina Ulrich, Prof. Dr Julia Welzel