


Workflow
Workflow for instant digital pathology means for you: Fresh tissue can be examined immediately after an excision without lengthy procedures. This allows for the direct assessment of the specimen in the operating room. Based on the acquired images, strategic decisions regarding the surgical procedure or the biopsy acquisition process can be made.

Your future 5-minute workflow. Intraoperative Evaluation Workflow, at the beside
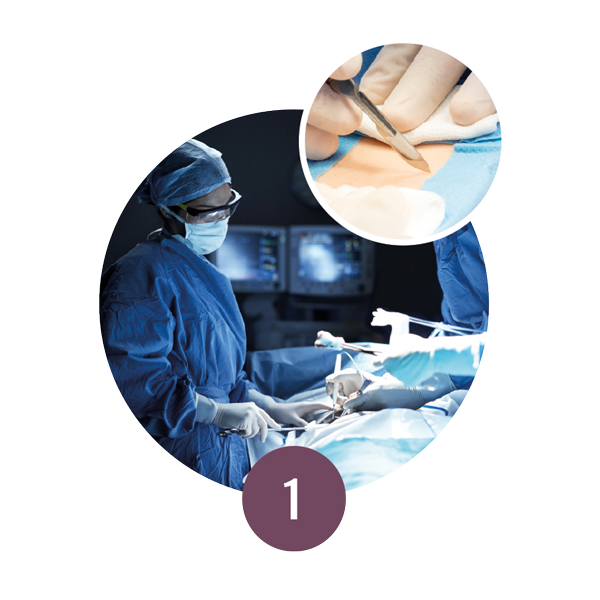
Step 1: Tissue Removal
The tissue is processed directly after excision without fixation.
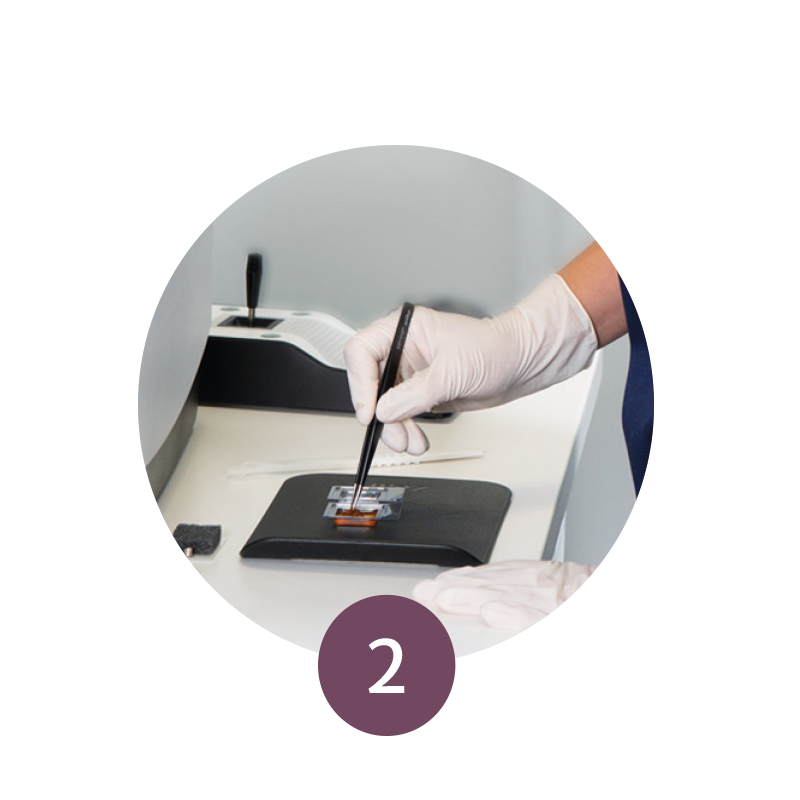
Step 2: Staining Procedure
The specimen is then quickly and easily stained with a fluorescent dye and mounted on a glass slide.
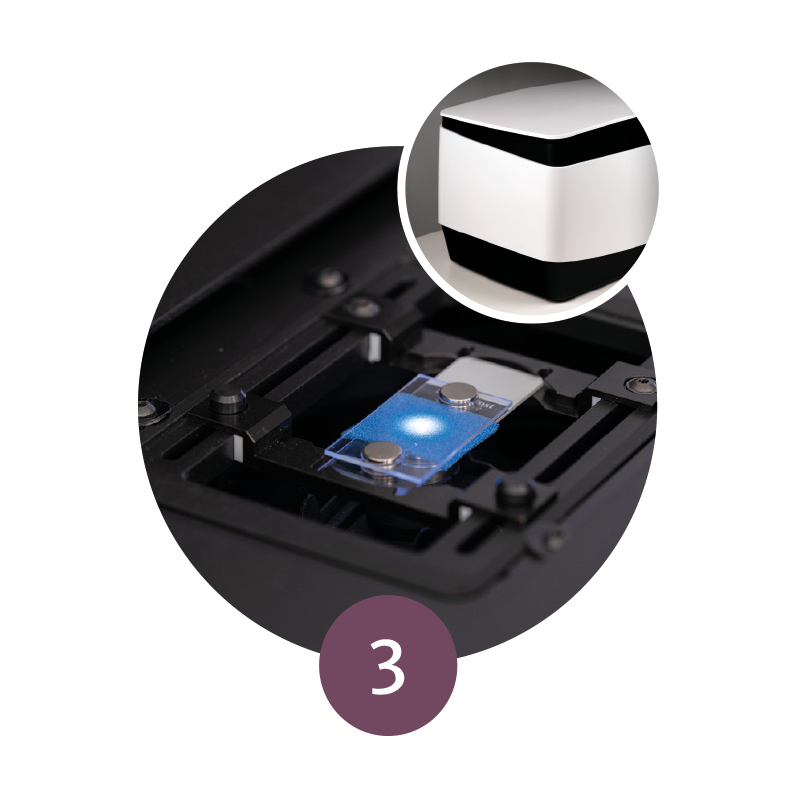
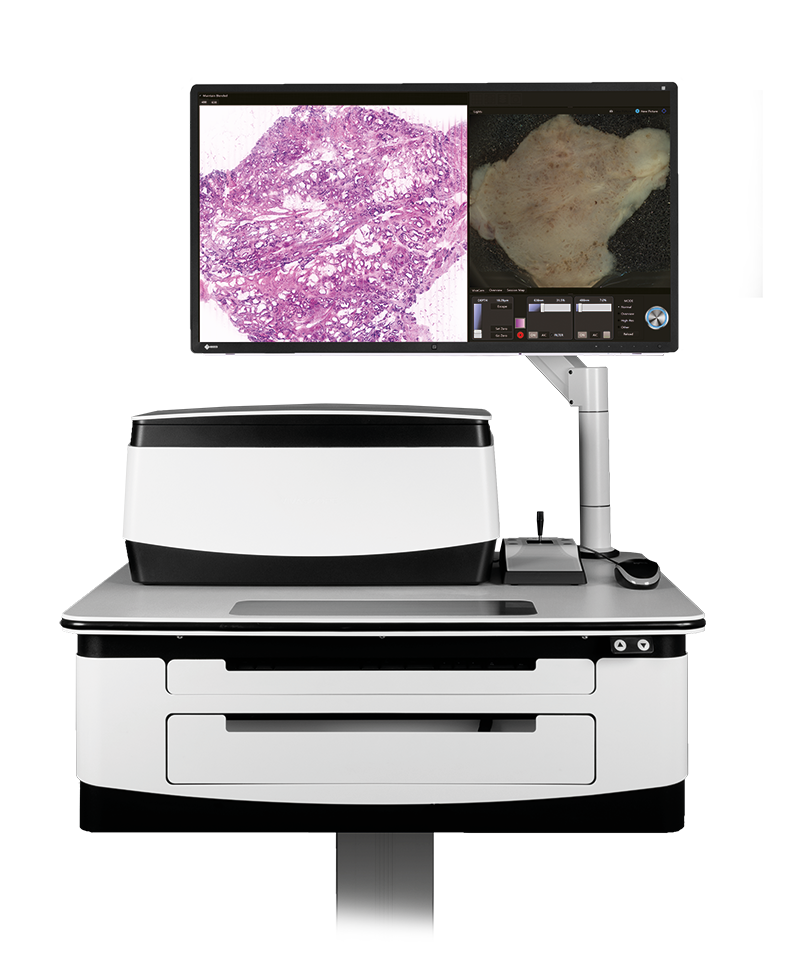
Step 3: Tissue Mounting
The glass slide is subsequently inserted into the VivaScope 2500.
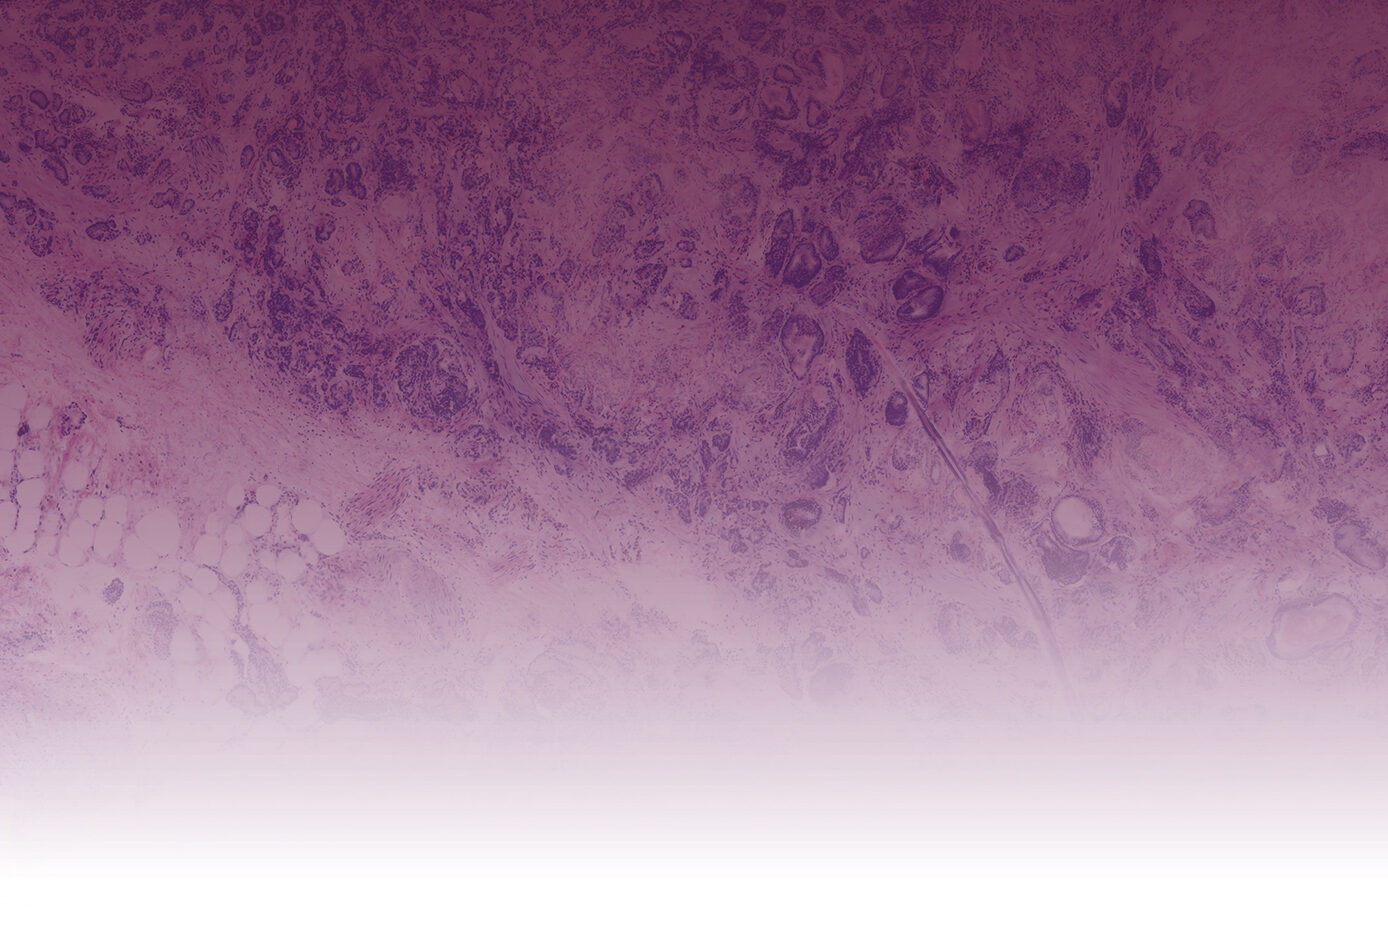
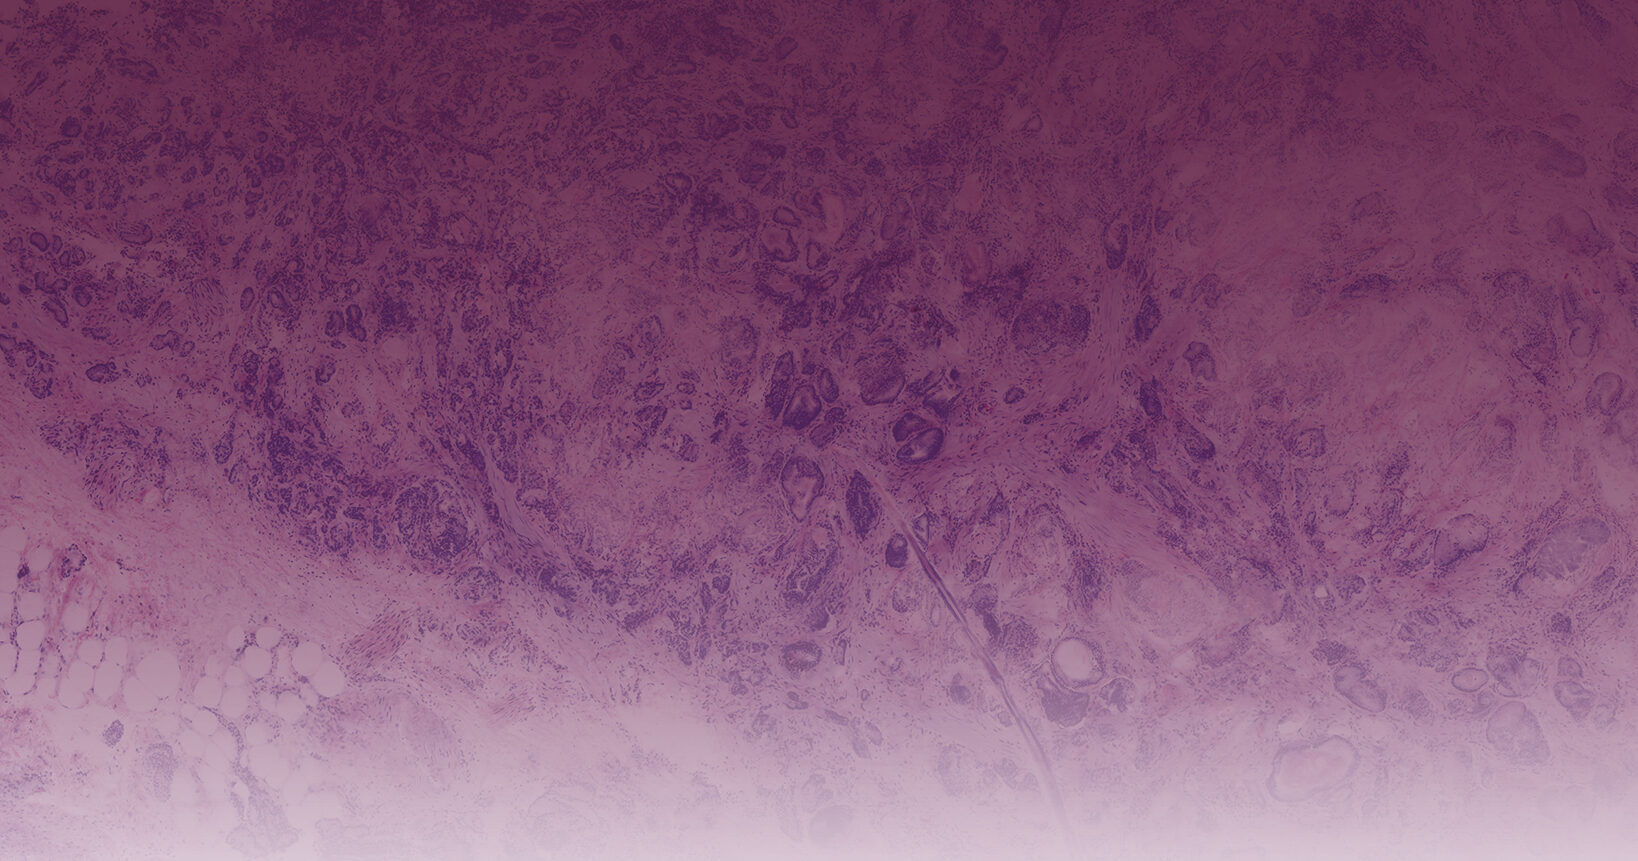
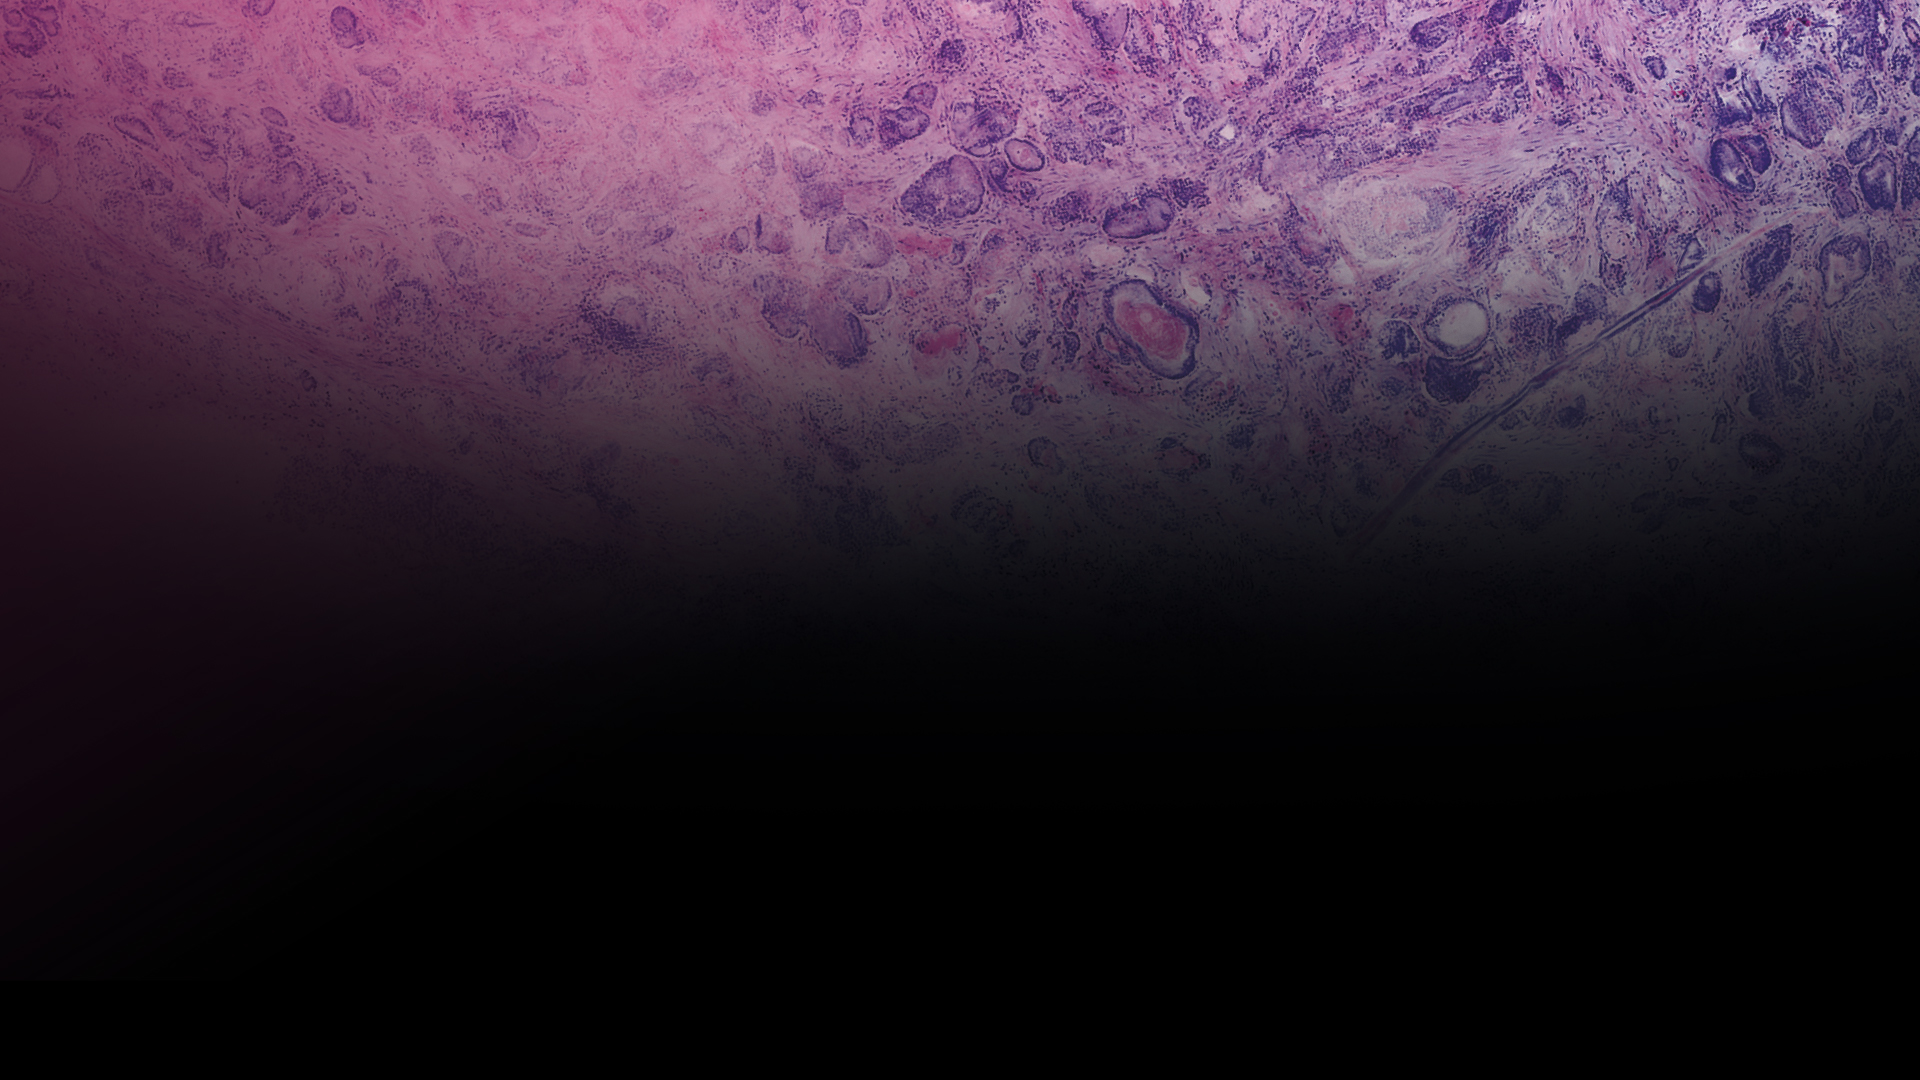
Step 4: Confocal Imaging
The VivaScope 2500 rapidly scans the excised tissue and reveals the cellular
morphology.
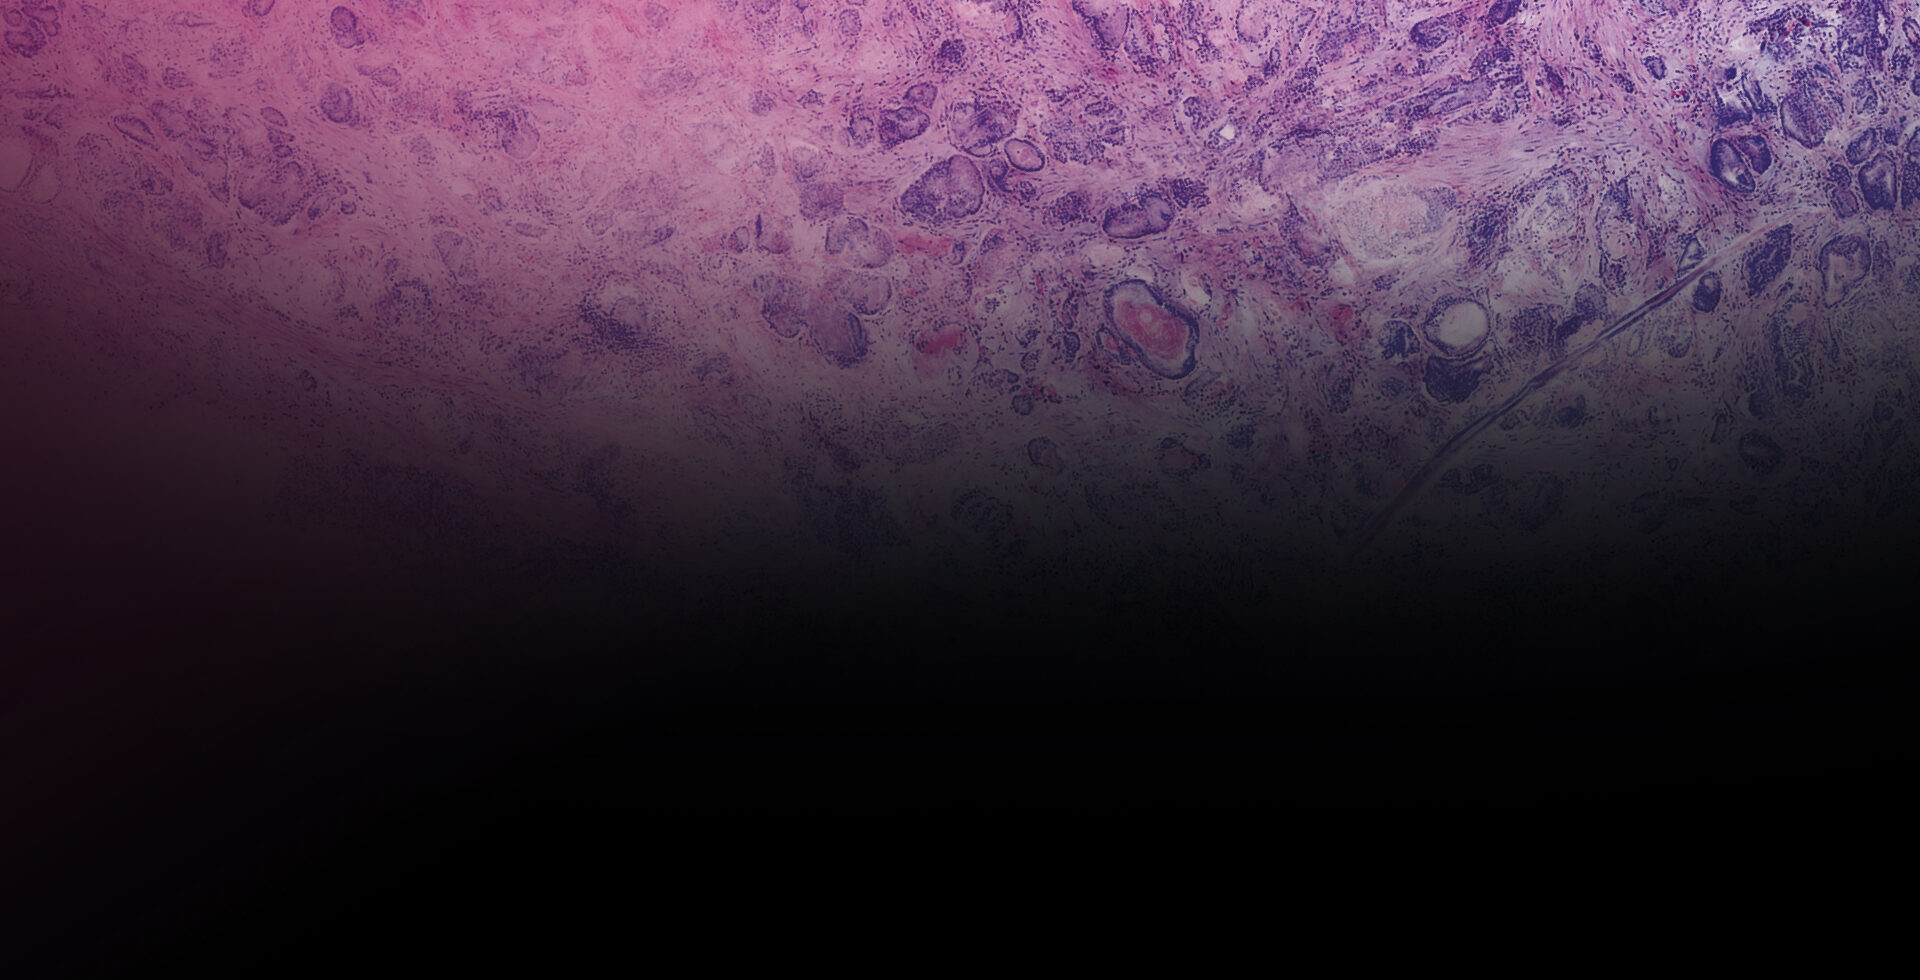
Image courtesy of Dr Javiera Pérez-Anker.
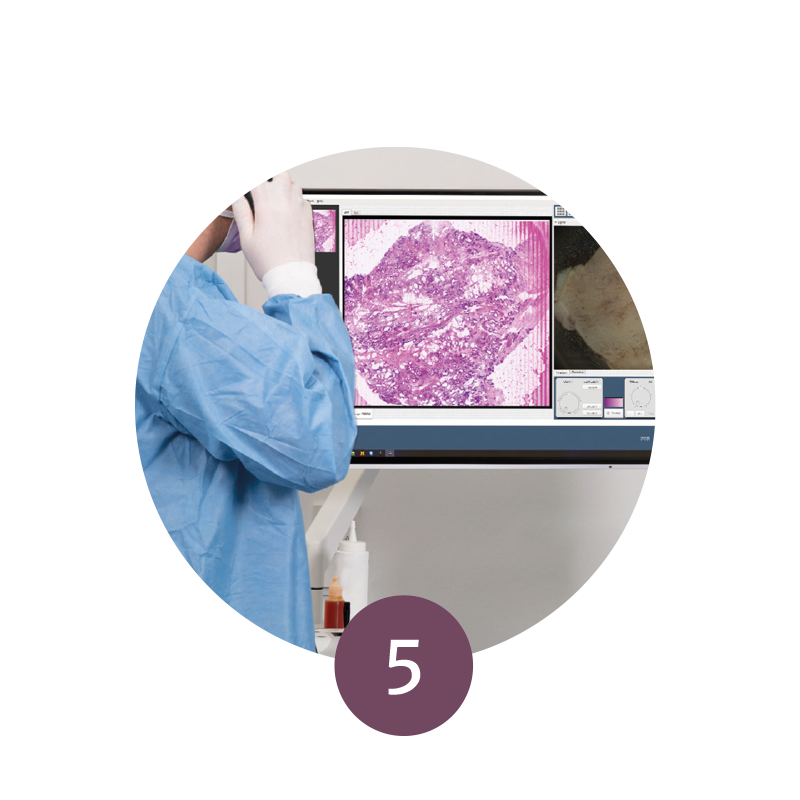
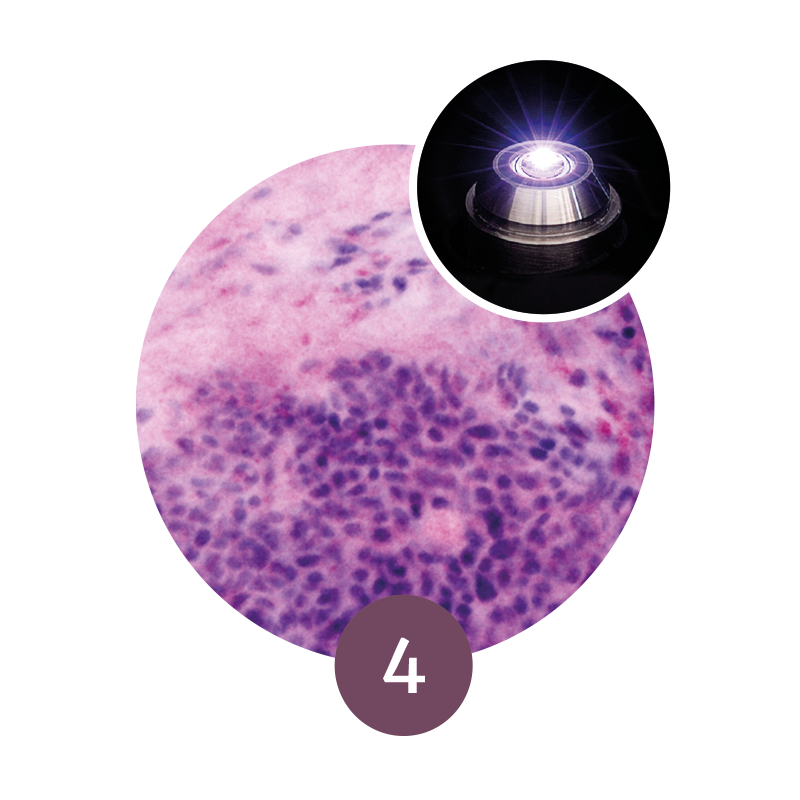
Step 5: Evaluation & Telemedicine
During the surgical procedure, the specimens can be evaluated microscopically and the procedure adapted accordingly.
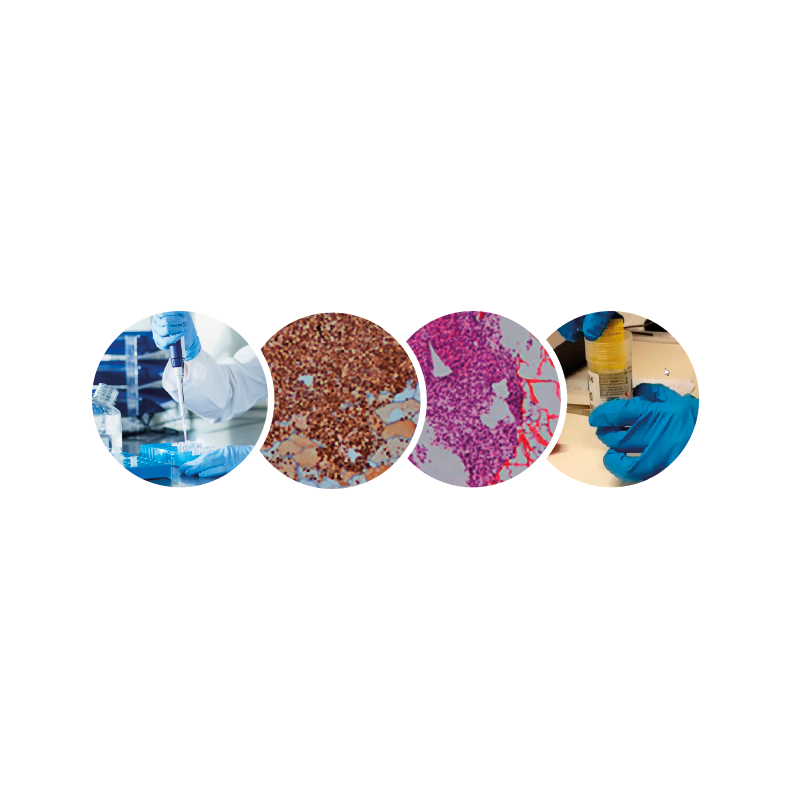
Full preservation.
The examined tissue remains unharmed by the procedure and can be processed for histopathological and integrative analysis later on.
✔ molecular analysis ✔ IHC
✔ H&E staining ✔ formalin fixation